
Moth 2.0
- akijoy8
- Aug 5, 2018
- 4 min read
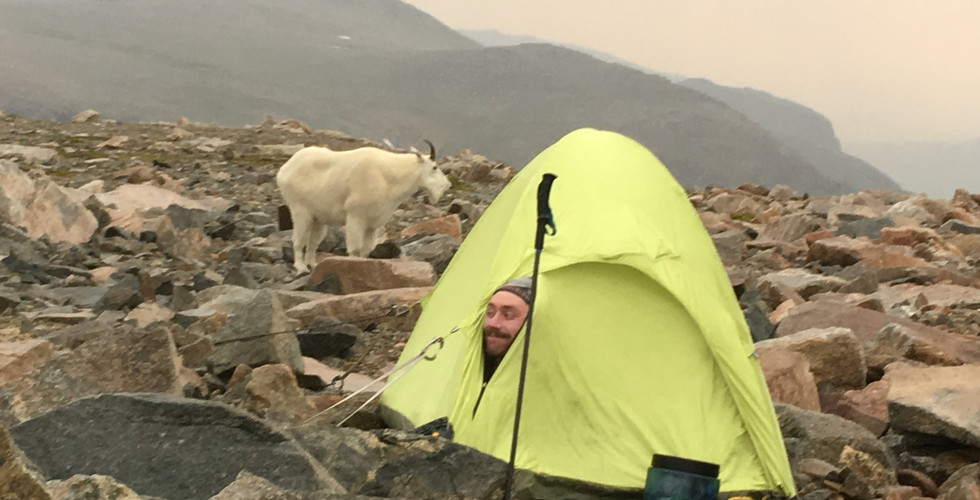
During many of the tent bound hours on our Alaska trip, the first thing on my mind was the new van and the massive shipment of parts I had waiting at my parents house. I already formulated an ambitious game plan for the week that I had access to my dad's shop. Basically I wanted to do all of the cutting, insulating, wiring, and walls before I drove it up to Montana.

Freshies...
This new van was a lot better than my previous one, mainly because finding a baseline one is pretty difficult. It came with a larger engine, cruise control, and many other little things. It also had a ridiculous bench seat and bulkhead (anyone want to buy a leather Sprinter bench seat?). Fortunately, I managed to find a captain seat, pedestal, and floor mats at a nearby junkyard (which was surprisingly difficult). After having them professionally cleaned, the swap went smoothly. You'd have a hard time knowing they're different seats unless you're a total Sprinter nerd. During the seat install, I put in the heater in a record 6 hours (vs. the 6 day epic of last time) and some fancy German swivel seats. This involved some cutting into the floor and pedestal, along with an e-brake adjustment. Two grand down the drain...

As empty as it gets
Next up was the window install. This van came with rear windows and a slider window, unlike my last one which had no windows. I made an impulse buy at some point to add a driver's side window, perhaps because cutting a giant hole in the van is pretty fun. I think my dad had a good time watching me mutilate a brand new Mercedes. While at it, I also cut the hole for the fan in the roof.

Emotionally, much easier this time
Somehow, I managed to convince a few friends to help insulate and wall the van during their free time. First, I layered Rattletrap on the wheel wells and large spaces. Then I glued Reflectix on all of the surfaces, which is a surprisingly good shoulder workout. I opted for the fiberglass insulation on the walls again, despite the popularity of denim insulation. On the ceiling, I glued 1.5" foam between all of the supports. All of the fiberglass was covered with a vapor barrier and the rigid foam edged with spray foam (messy!). The wall area was much less in this van due to the planned layout and windows, so I went with 1/4" tongue and groove cedar. Unfortunately, the amount of insulation behind the cedar bowed it out a little.

New window and insulation going in

Insulation, paneling, walls, and wiring
We ran all the wiring and carefully cut the ceiling panels to accommodate the lights and fan. The van was finally starting to take shape! Shortly thereafter, I glued(!) two 100 watt solar panels to the roof and ran the wires through a nice little box my dad found on amazon. The battery was mounted and strapped to two eye bolts on the floor. We connected the battery, panels, and alternator all via one sleek little charge controller (my dad also found this) that was mounted under the driver's seat. The electrical was done in a matter of hours... A stark contrast to days it took last time. Of course, everything was run through a fuse box and a main breaker.

Colby helping with the ceiling

And then there was power!
Somehow, my goals for the week were achieved. I had plans to climb in Yosemite and go straight to Montana after, so I loaded up the van with everything I owned. Fortunately, there is a little bit of space in the back of an empty cargo van- the perfect vehicle for hauling a shitload of climbing gear. I will say though, it was a little odd living out of the van in this state for the next few days.

The new V6 worked wonders while caravaning across Nevada
Work was surprisingly busy once I got to Montana. This meant less time to climb and, consequentially, even less time to work on the van. I worked on it during the evenings, however, and managed to hack away at the funky wood work a curvy van and slanted driveway entail. I bought a small table saw, used my roommates cordless power tools, and worked in a nearly empty two car garage. Couldn't ask for too much more.

The beginnings of a cabinet

Starting to take shape

After the bed platform and cabinets were in, progress really slowed down. My daily driver, the blue streak, started to break down infrequently (still unsolved) and I drove the van around for work and trips. Lots of friends offered helpful advice or opinions that shaped the rest of the build. Eventually the counter top, floor, and upper cabinets went in, completing the majority of the work. After a few more small boxes and trim, she was basically done! The project as a whole felt much easier this time.

Troubleshooting the streak at the Home Depot parking lot while picking up supplies

Pouring the epoxy counter top (the guys volunteered to help in the name of leaving for a climbing trip sooner)

New counter and drawer pulls

Some added trim and whatnot, ready for her maiden voyage
Meanwhile, to pay for all of the build, I was guiding a lot. Fortunately having the van as a side project kept my psych high to climb on my free time too. I managed to tick off a few summer goals, firing some local projects and longer climbs as well. I guess having the van allowed me to rest when I needed it most!


Just like last time, it still feels like the van is far from done. I'll probably leave it in this state for a bit before the final touches are added, though. Shoutout to my parents for having a van in their driveway for a month, my dad especially for all of the help in the beginning. Big thanks to Kyle and Colby for help with the walls and insulation, Ryan for the garage space and woodwork advice, Conrad for the chop saw, and everyone else who chimed in.
Thanks for reading! Hope you enjoyed.

Comments